Splitting and merging documents
The Split and Merge Feature in our product empowers users to efficiently process multiple documents within a single file. This guide demonstrates how to effectively utilize this tool to split documents for processing and merge them once processing is complete. It provides a versatile solution for managing multiple documents, allowing users to streamline processing by splitting and later ensure document integrity by merging.
Note:
If you encounter any issues, contact your system administrator.
Knowing split merge UI
When you click Manual Split from Document monitor page. The Split Merge page opens.
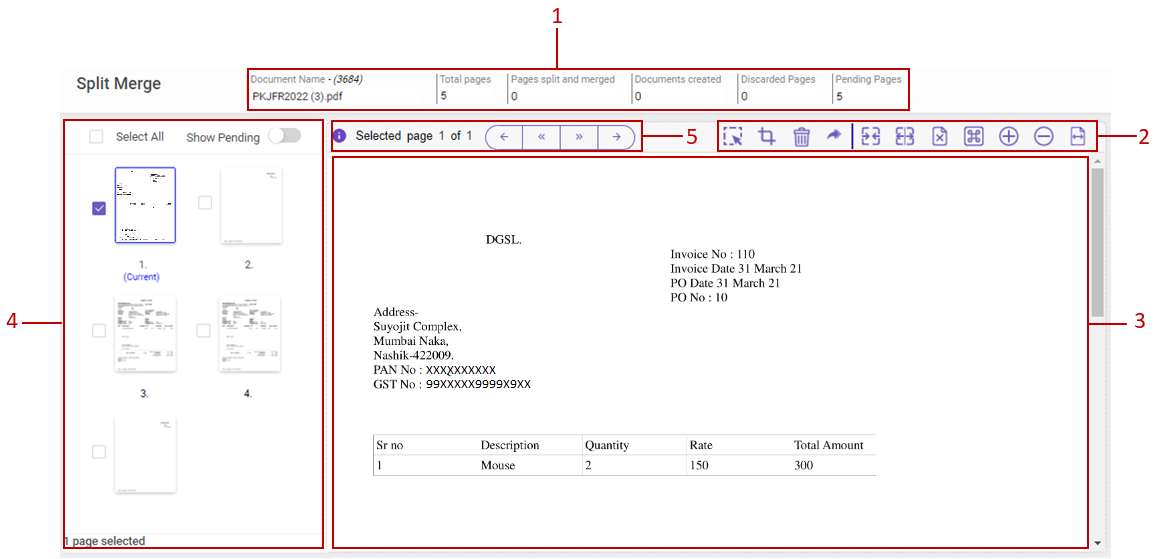
Refer the table below to read the callout descriptions.
|
# |
DESCRIPTION |
|---|---|
|
1 |
Displays the statistical information about the current document available for split and merge.
|
|
2 |
You can use the features available to mark a region on the displayed page, or, to crop a region of the displayed page, or to merge selected documents, or to split the selected pages or to forward the document to a user or to discard a selected document, or to view the Hot Keys, or to delete a selected document, or, to change the size of the displayed page. |
|
3 |
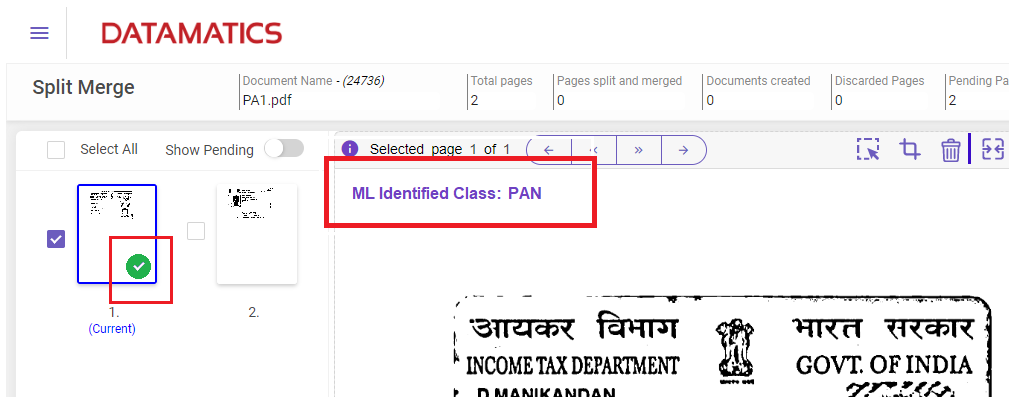
The page viewer displays the selected page. The top-left corner of the page viewer displays the ML-identified class, along with a green tick at the bottom-right of the thumbnail (see image below).
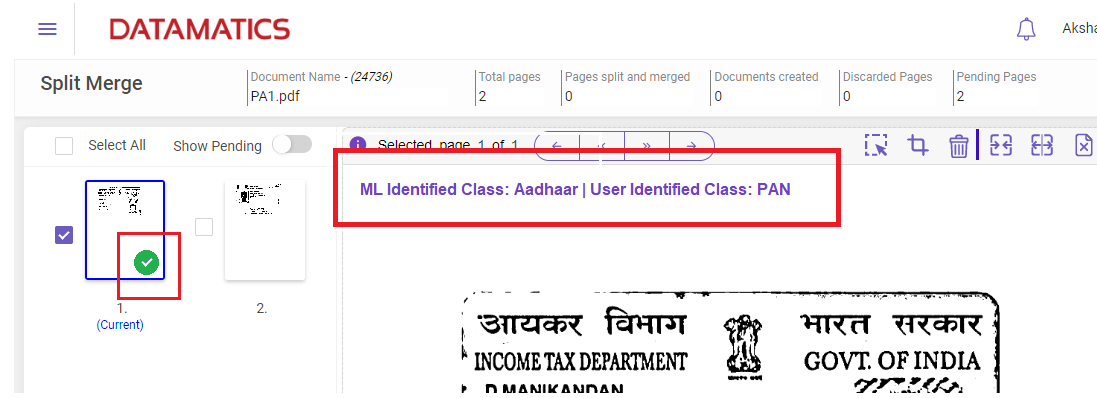
In case of misclassification by ML but the user identified and correctly classified, the page viewer will show the message as shown in the image below.
|
|
4 |
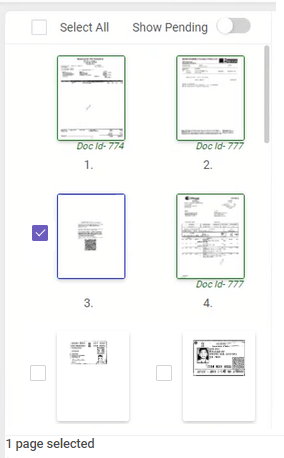
Displays the thumbnail view of the pages available in the document.
Note
|
|
5 |
Displays the reason of document rejection, page number, page navigation, and status of the document.
|
 to view the reason of rejection.
 quick access toolbar to navigate through the documents.
Note:
-
If a parent document is split and several child documents are created, processed, and exported, the user will be unable to reprocess these documents. The message This document id cannot be reprocessed is displayed at the bottom of the screen. Only uploading the parent document into the system would be a workaround.
-
When a page or document is discarded from the manual split menu, the rejected document is treated as a standalone document and is not related to the parent document when reintroduced from the document reprocess screen (if the discarded document is to be merged, the document would have to be uploaded again).
-
If documents are manually split from the menu, and the user sends them from MI/QC to the manual split, the user will not be able to unpair them. The message This document id cannot be unpaired is displayed at the bottom of the screen.
-
If the documents are manually merged from the manual split screen, the user will not be able to unpair such documents. The message This document id cannot be unpaired is displayed at the bottom of the screen.
-
Post-split the file name of the split documents will be renamed as parentdocumentname/number+n (where n = number of split pair). Example

Quick access toolbar
The below image explains some handy tools available on the upper-right corner of the Split Merge page.

Hover-over the above image to know about the features.
Note:
Please note that if the document is injected into the system via a Project Level input source (Document Classification), only then the Crop icon will be visible.
To crop a page, follow these steps:
-
Select the page to be cropped to display it in the page viewer.
-
Click
 to mark the region to be cropped.
-
Click
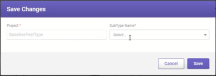
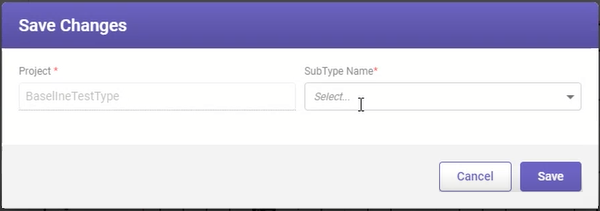
 to crop. The Save Changes window opens.
-
Select the required subtype name from the drop-down list and click Save. The page will be saved as a separate document.
Note:
-
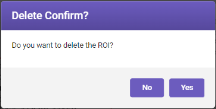
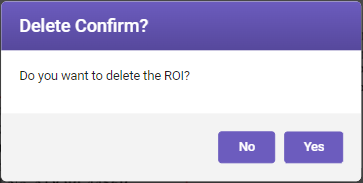
At any time, if you want to delete the marked region, select the region to be deleted and then click
 . The Delete Confirm window opens (see the below image). Click Yes to delete the ROI.
-
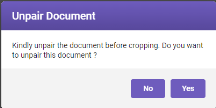
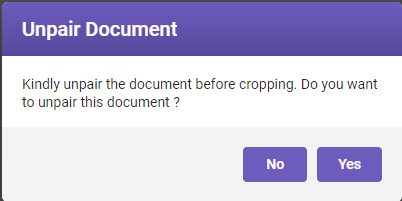
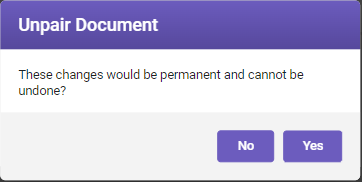
Before cropping a document, it needs to be unpaired. When a user crops a paired document, the Unpair Document window opens (see the below image). Click Yes to unpair the document.
Note:
The forward icon is visible only if the Forward to User toggle switch is enabled in Manual Intervention application settings.
To forward a document, follow these steps:
-
Click the Forward
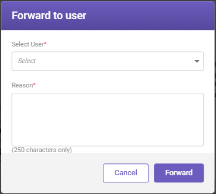
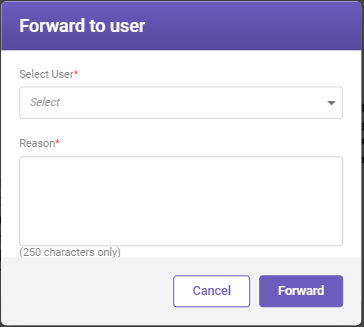
 icon to forward the document. The Forward to user window opens.
-
Select the user to whom the document is to be forwarded from the Select User drop-down list. Also, specify reason in the Reasonfield, and then click Forward to forward the document to the selected user.
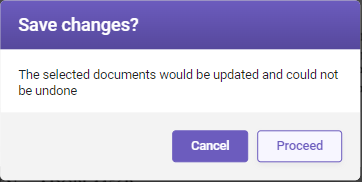
 to merge the pages into a single document. The Save changes? window opens.
To split pages, follow these steps:
-
Select the pages to be split.
-
Click
 to split the selected pages into individual documents.
-
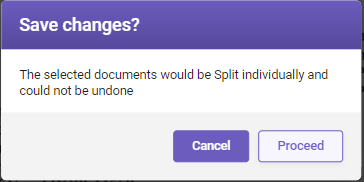
Click Proceed to split the pages.
Example: If a user receives a document with 50 pages of invoices merged as a single file, by clicking the Split All  icon, the user can split the selected pages into multiple single-page documents.
To discard a page, follow these steps:
-
Select the page to be discarded to display it in the page viewer.
-
Click
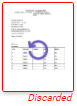
 to discard the page. An undo icon appears on the discarded page and is labelled as Discarded (see below image).
-
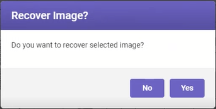
To undo discarding, click the undo icon displayed on the discarded page. The Recover Image? window opens.
-
Click Yes to recover the discarded page.
To unpair a document, follow these steps:
-
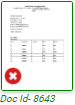
Click the red cross symbol appearing on the document (see below image).
-
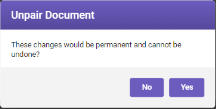
The Unpair Document window opens. Click Yes to unpair the document. The unpaired document appears as a separate document on the same screen.
Note:
The untouched pairs would be sent back to MI/QC for processing, while the newly created pairs would be sent back to extraction.
Hot keys for split and merge process
To access hot keys for split and merge, click the  icon on upper-right corner of the Split and Merge screen. Following is the list of hot keys:
|
HOT KEYS |
DESCRIPTION |
|---|---|
|
Alt+K |
Displays Hot Keys List |
|
Alt+L |
Split All Button |
|
Alt+M |
Merge Button |
|
Alt+N |
Discard Button |
|
Page Down |
Scroll Down the document |
|
Page Up |
Scroll Up the document |
Useful links
Integrated documents processing